Western Red Cedar 24″ Handsplit Shakes
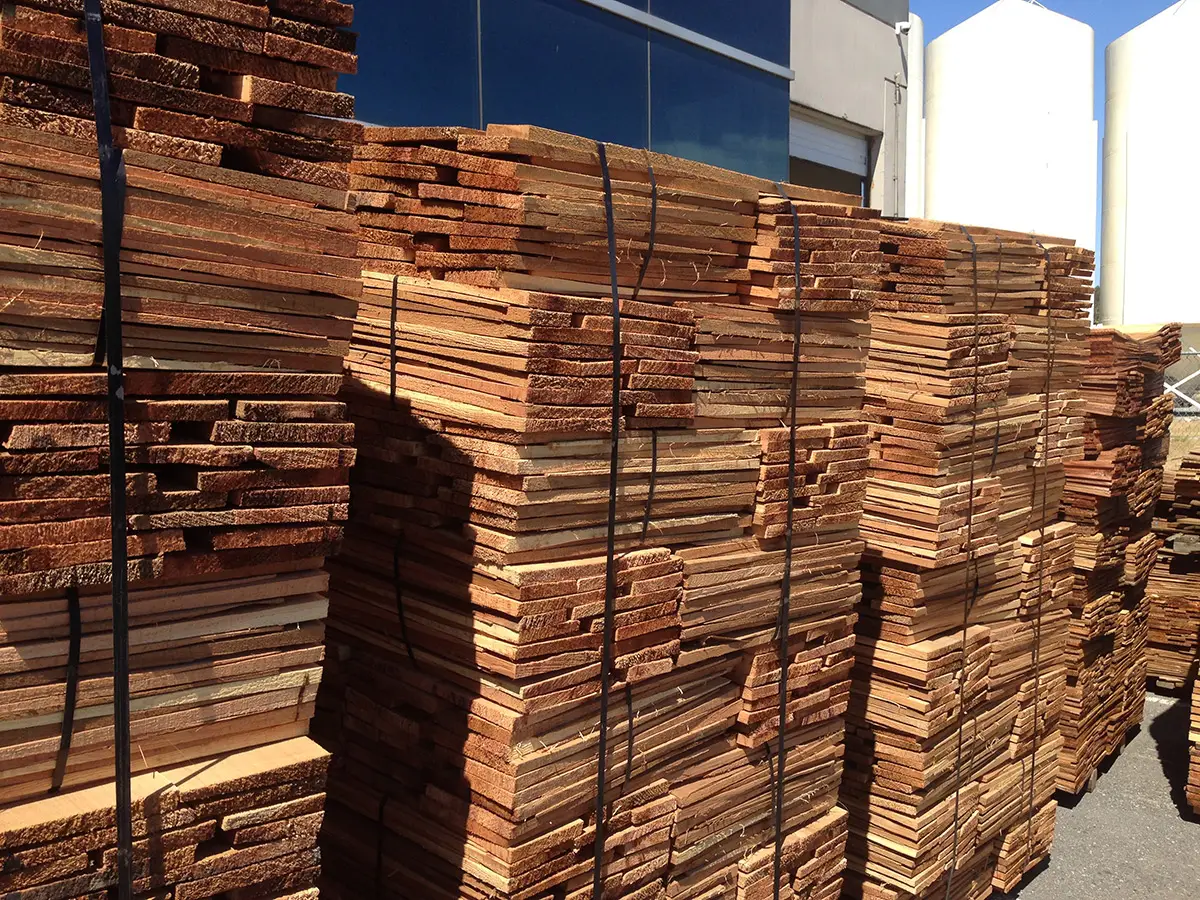
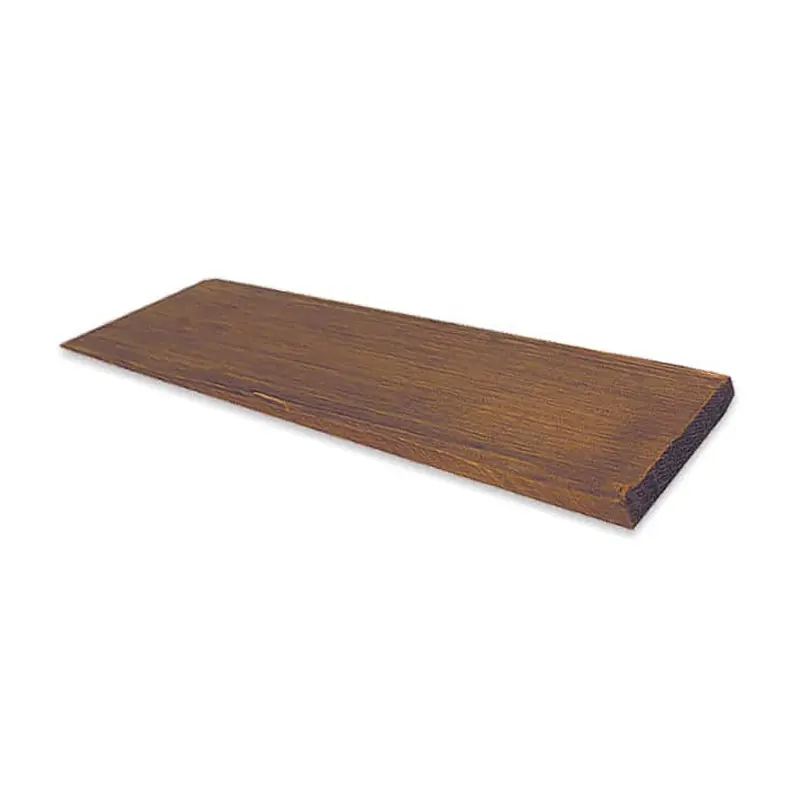
These shakes have split faces and sawn backs. Cedar logs are first cut into desired lengths. Blanks or boards of proper thickness are split and then run diagonally through a bandsaw to produce two tapered shakes from each blank.
Grades Available: #1, #1 Select and Premium Grade
Thicknesses: ½”, ¾”, 1″, 1 ¼” and 1 ½”
Premium Cedar. Low Prices. Home Delivery Made Easy.
Product Resources:
Handsplit Shake Grading Rules
Cedar Shake and Shingle Product Selection Guide
Cedar Shake and Shingle Specification Guide
Basics Guide for Cedar Shakes and Shingles
CSSB New Roof Construction Manual
Toll Free: 1-877-850-1767
Recommended Use
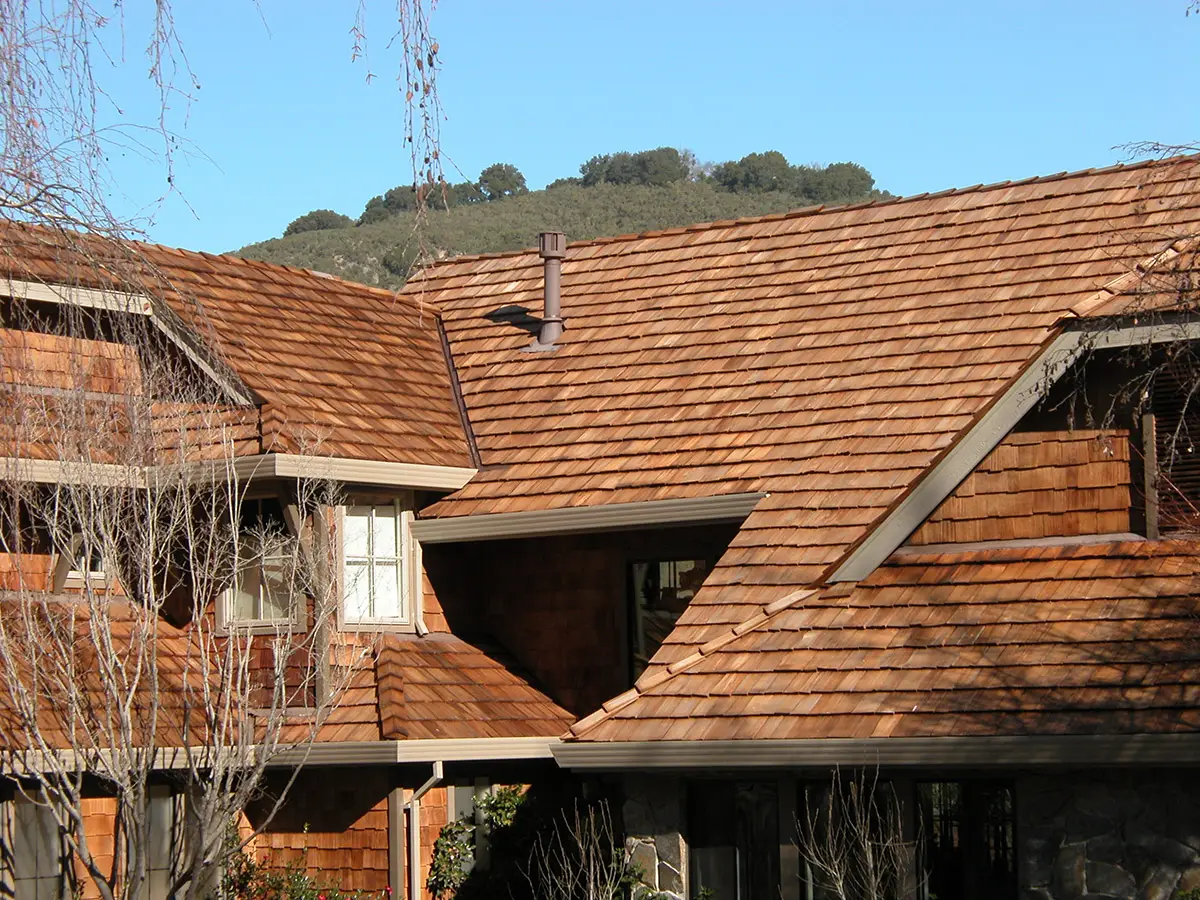
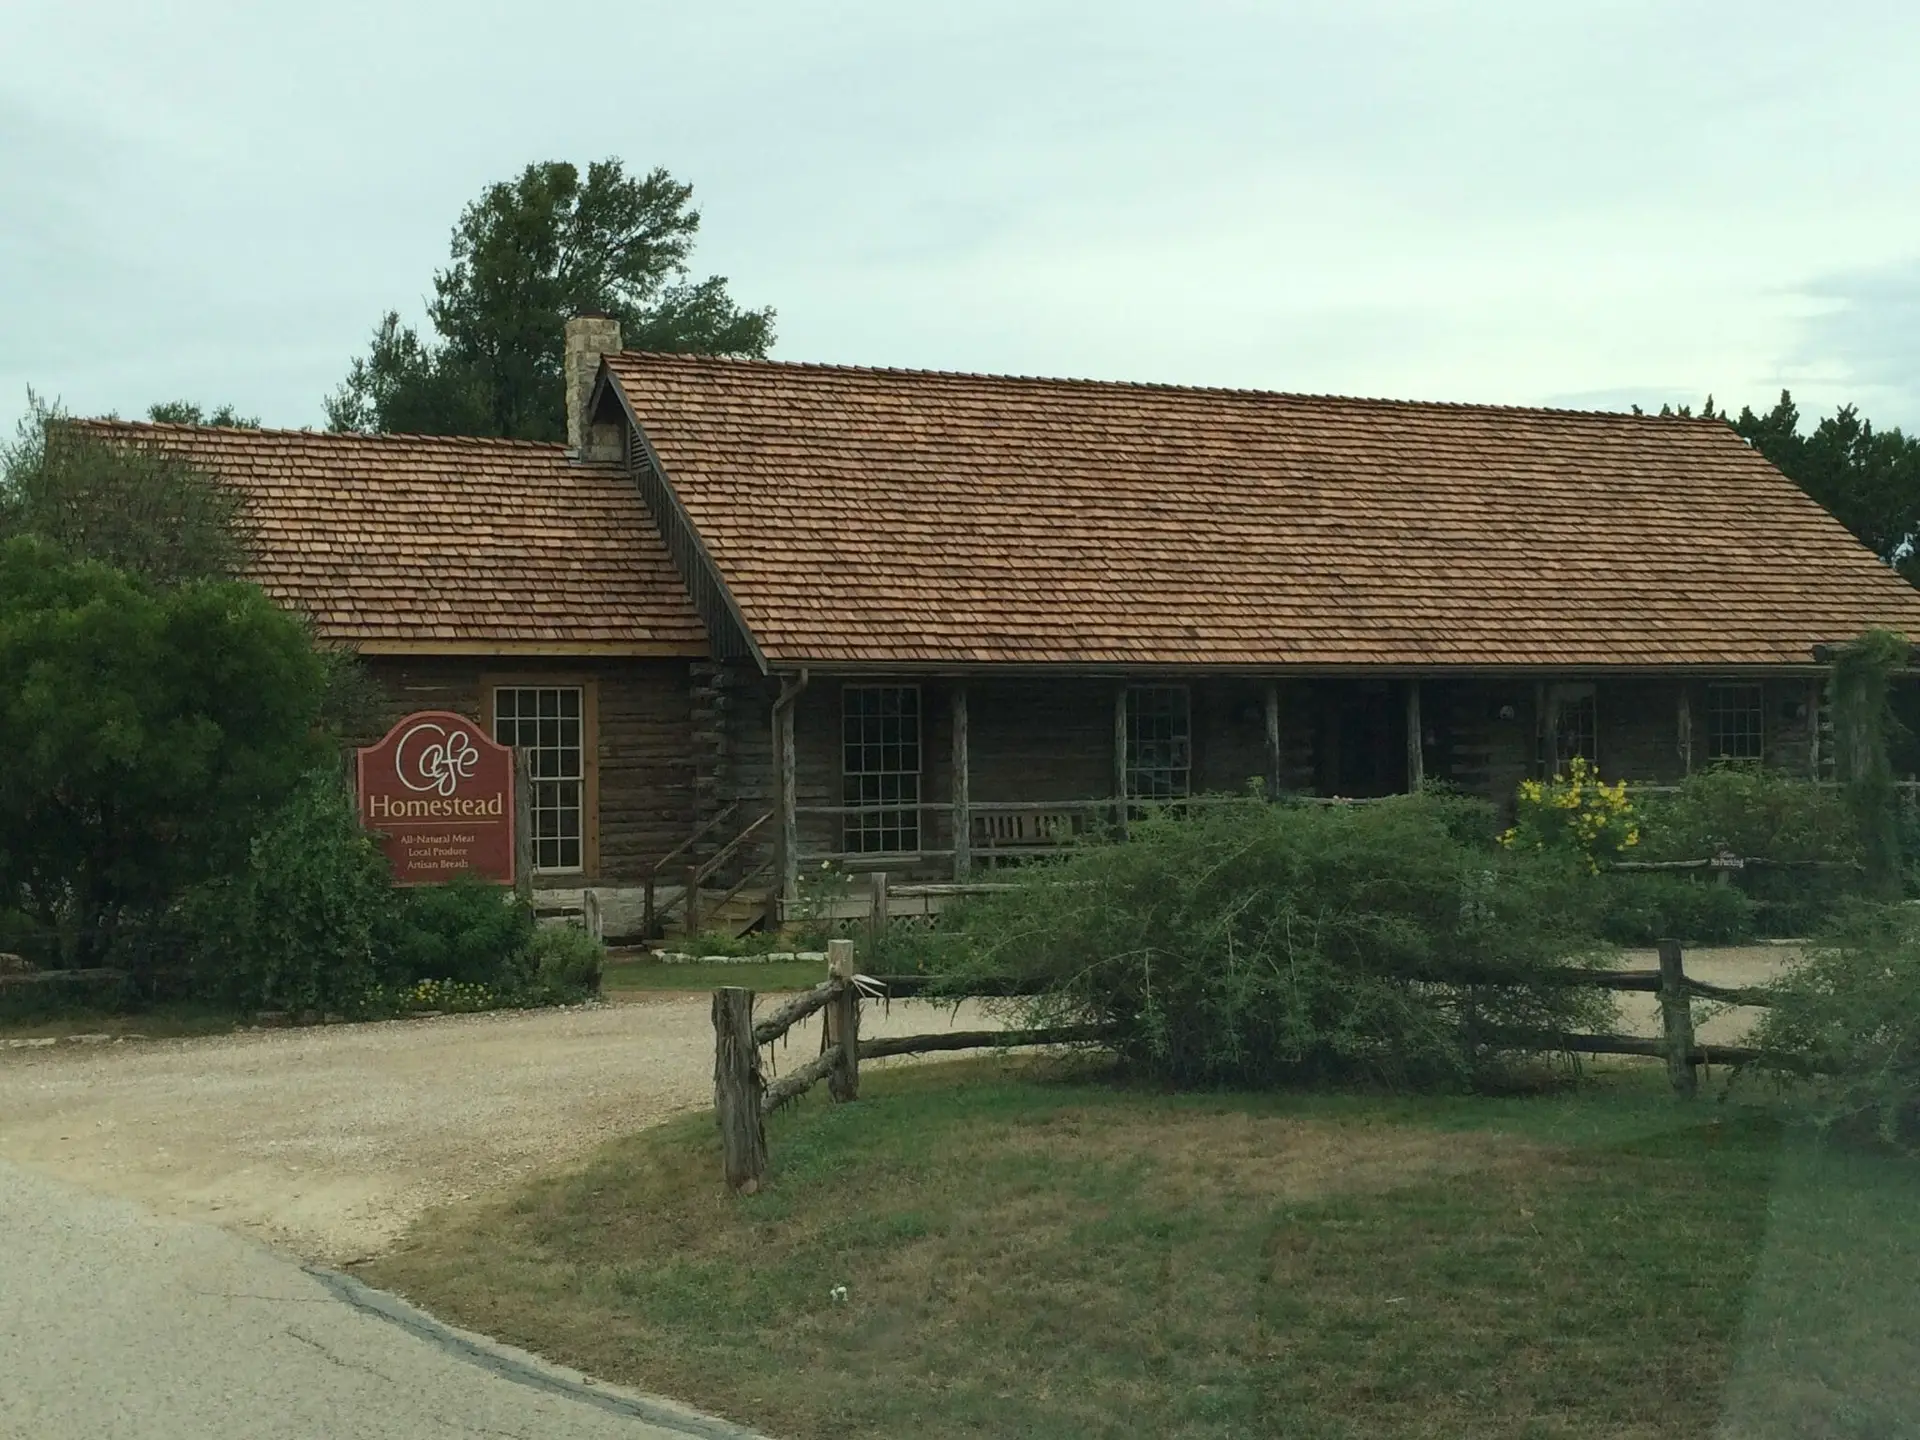
Walls & roofs with a 4:12 pitch or steeper.
Shingle Dimensions
- nominal thickness – ½”, ¾”, 1″, 1 ¼” and 1 ½”
- nominal length – 24″ (610mm)
- random width from 4″ to 14″ (100 to 355mm)
Bundle Contents:
- approx. 45 shakes
- 29 rows (14/15 pack)
- min. 465 lineal inches, (11.81 m) measured edge to edge
- 25 sq.ft. (2.32m2) with a 7-1/2″ (190mm) roof exposure
- there are 5 bundles per one roofing square – 100 sq.ft. (9.3 m2)
Shipping details (approximate):
- bundle weight green – 70 lbs (32 kg)
- bundle weight kiln dried – 45 lbs (20.4 kg)
- bundle size – 18″ x 26″ x 9″ (45x66x23cm) WxLxH
- pallet size – 42″ x 53″ x 84″ (107x137x213cm) WxLxH
- pallet weight green – 3,500 lbs (1590 kg) (50 bundles)
- pallet cubics – 110 cu.ft. (3.1 m3)
- number of bundles per pallet – max. 60
- 20ft container capacity – 400 bundles / 8 pallets
- 40ft container capacity – 900 bundles / 18 pallets
Note: Prices are subject to change without notice.
Add treatment by selecting from the drop down list below (Kiln Dry, CCA or Fire Retardant)
Application Notes
Installing Western Red or Alaskan Yellow Cedar shakes and shingles requires more than just quality materials—it requires precision and proper technique. At Direct Cedar Supplies, we are committed to helping you get the most out of your cedar investment by sharing best practices in application and finishing.
- Skilled installation is essential. Proper technique ensures your sidewall system performs to its full potential. We recommend all installers review the latest CSSB (Cedar Shake & Shingle Bureau) Installation Guide prior to beginning work.
- Wall and roof installations differ. While the materials may be the same, shakes and shingles used for wall cladding allow for greater exposure than roofing applications. Always follow exposure guidelines for vertical installation.
- Material requirements vary. Sidewalls typically require less product per square foot than roofs due to greater exposure allowances. This difference should be factored into your material estimates.
Proper finishing is essential to protect your cedar and achieve the desired aesthetic. Direct Cedar Supplies recommends the following:
- Use oil-based stains only. A bleaching oil can be applied to accelerate aging in a controlled, attractive manner for a naturally weathered look.
- Finish immediately after installation (when possible), assuming moisture levels are appropriate. Delaying the application may affect adhesion unless additional surface prep is performed.
- If left unfinished, apply your stain or finish before the wood is exposed to rain or excess humidity. Moisture absorption can interfere with both aesthetics and performance.
- Regional drying times will vary. Always ensure your cedar has reached the manufacturer-recommended moisture content before applying any coatings.
- If washing the surface prior to finishing, allow sufficient drying time before applying your protective finish.
For optimal performance and long-term durability, follow these fastener recommendations:
-
Each cedar shake or shingle requires two nails.
-
In coastal zones (within 15 miles of saltwater), use Type 316 stainless steel nails for maximum corrosion resistance.
-
In other regions, use Type 304 stainless steel or hot-dipped galvanized nails meeting ASTM A 153 Class D standards (1.0 oz/ft² coating weight).
-
Stainless steel nails are the premium choice for longevity and rust prevention.
-
Use minimum nail lengths as specified in the CSSB fastener chart.
-
In double course installations, nails should be face-driven 2″ above the butt line and ¾” from each edge.
-
For shingles wider than 10 inches, install two additional nails about 1″ apart near the center for added stability.
-
Specialized nails for wood shakes and shingles may be available. Contact your nail supplier to ensure compliance.
While nails are generally preferred for aesthetic reasons, stainless steel staples may also be used for shake and shingle sidewall applications.
- Use Type 316 stainless steel staples in coastal areas (within 15 miles of saltwater), and Type 304 or 316 elsewhere.
- Do not use electro-galvanized (EG) staples, as they lack the corrosion resistance required for cedar.
- Install two staples per shake or shingle, positioned the same as nails: 2″ above the butt line and ¾” in from each side.
- Staple crown width should be between 7/16″ and 3/4″, installed horizontally.
- Shingles wider than 10 inches require two additional staples near the center, spaced about 1″ apart.
- Staples must penetrate at least ¾” into the sheathing or pass through it completely.
- All staples should be flush with the surface and hidden beneath the overlapping course above.
- Use only corrosion-resistant fasteners. Never use electro-galvanized nails or staples, as they may rust and stain the wood over time.
- Always follow manufacturer and CSSB installation recommendations to ensure product performance and warranty compliance
| Roof Exposure | 10" |
|---|
Toll Free: 1-877-850-1767
Local: 1-604-850-1767
E-mail: sales@directcedarsupplies.com