Recommended Use
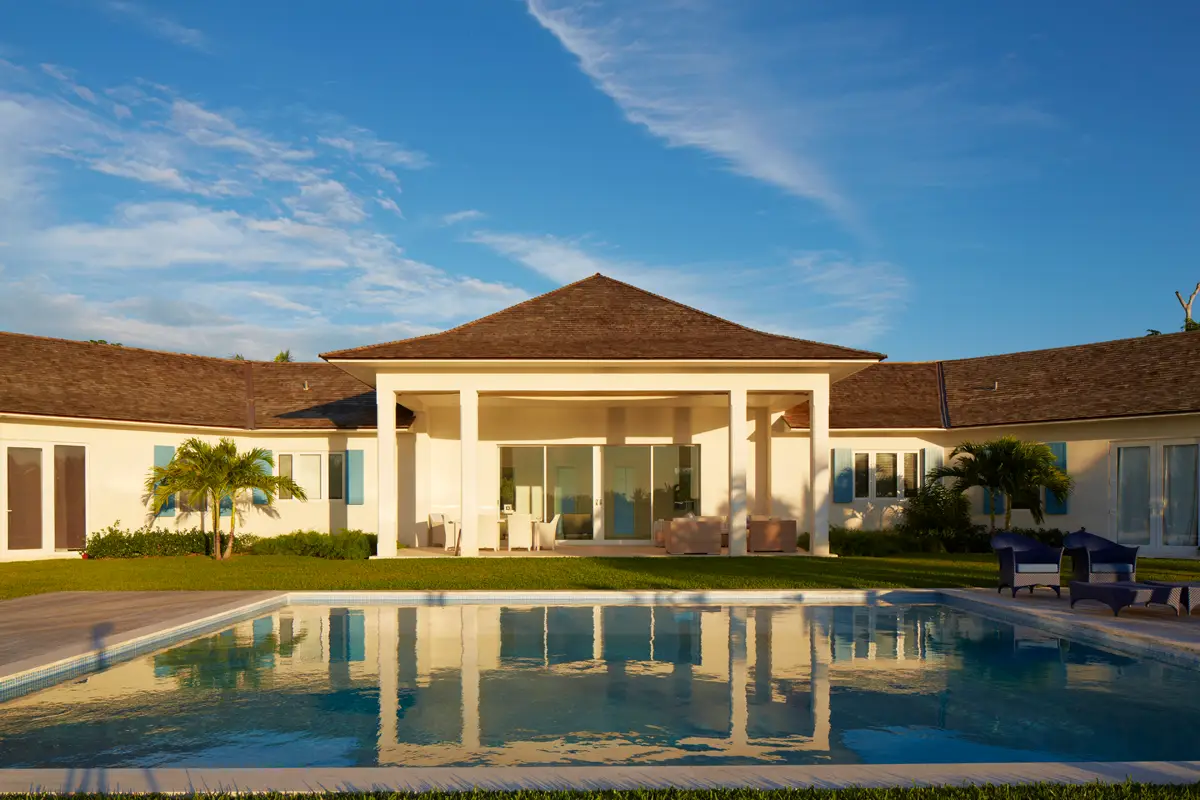
For walls and roofs on 3:12 pitch and steeper where a premium quality product is desired.
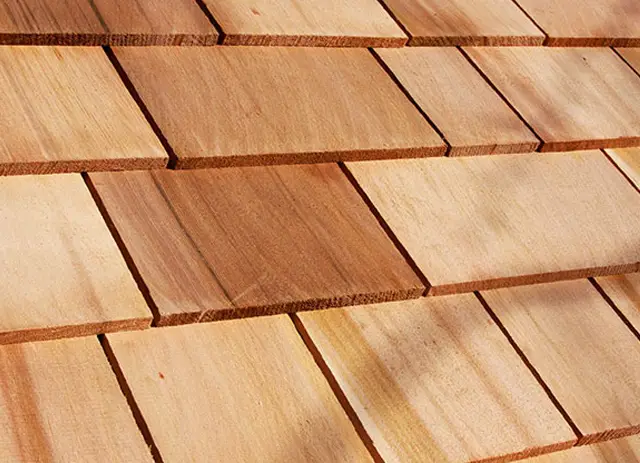
Shingle Dimensions
- nominal thickness – 0.40″ (10mm)
- nominal length – 16″ (406mm)
- random width from 4″ to 14″ (100 to 355mm)
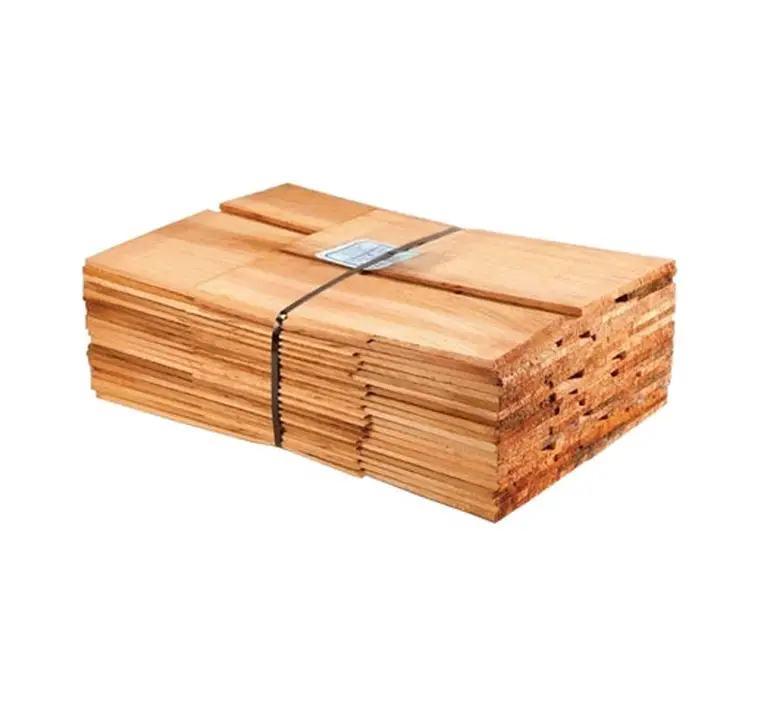
Bundle Contents:
- approx. 110 shingles
- 40 rows (20/20 pack)
- min. 695 lineal inches, (17.65 m) measured edge to edge
- 25 sq.ft. (2.32m2) with a 5″ (125mm) 3-ply roof exposure
- 35 sq.ft. (3.25m2) with a 7″ (178mm) wall exposure
- there are 4 bundles per one roofing square – 100 sq.ft. (9.3 m2) (based on 5″ exposure)
Shipping details (approximate):
- bundle weight green – 60 lbs (27.2kg)
- bundle weight kiln dried – 40 lbs (18.1kg)
- bundle size – 18″ x 26″ x 9″ (45x66x23cm) W x L x H
- pallet size – 44″ x 44″ x 84″ (107x137x213cm) W x L x H
- pallet cubics – 110 cu.ft. (3.1 m3)
- number of bundles per pallet – max. 40
- 20ft container capacity – 400 bundles / 10 pallets
- 40ft container capacity – 560 cartons
- 40ft container capacity – 880 bundles / 22 pallets
Note: Prices are subject to change without notice.
Add treatment by selecting from the drop down list below (Kiln Dry, CCA or Fire Retardant)
Pros of #1 16″ FIVE X Shingles Western Red Cedar BLUE LABEL / CERTIGRADE
✅ Premium Quality – Blue Label/CertiGrade classification ensures these are the highest-quality Western Red Cedar shingles available.
✅ Natural Durability – Naturally resistant to rot, decay, and insect damage, making them ideal for long-term roofing and siding applications.
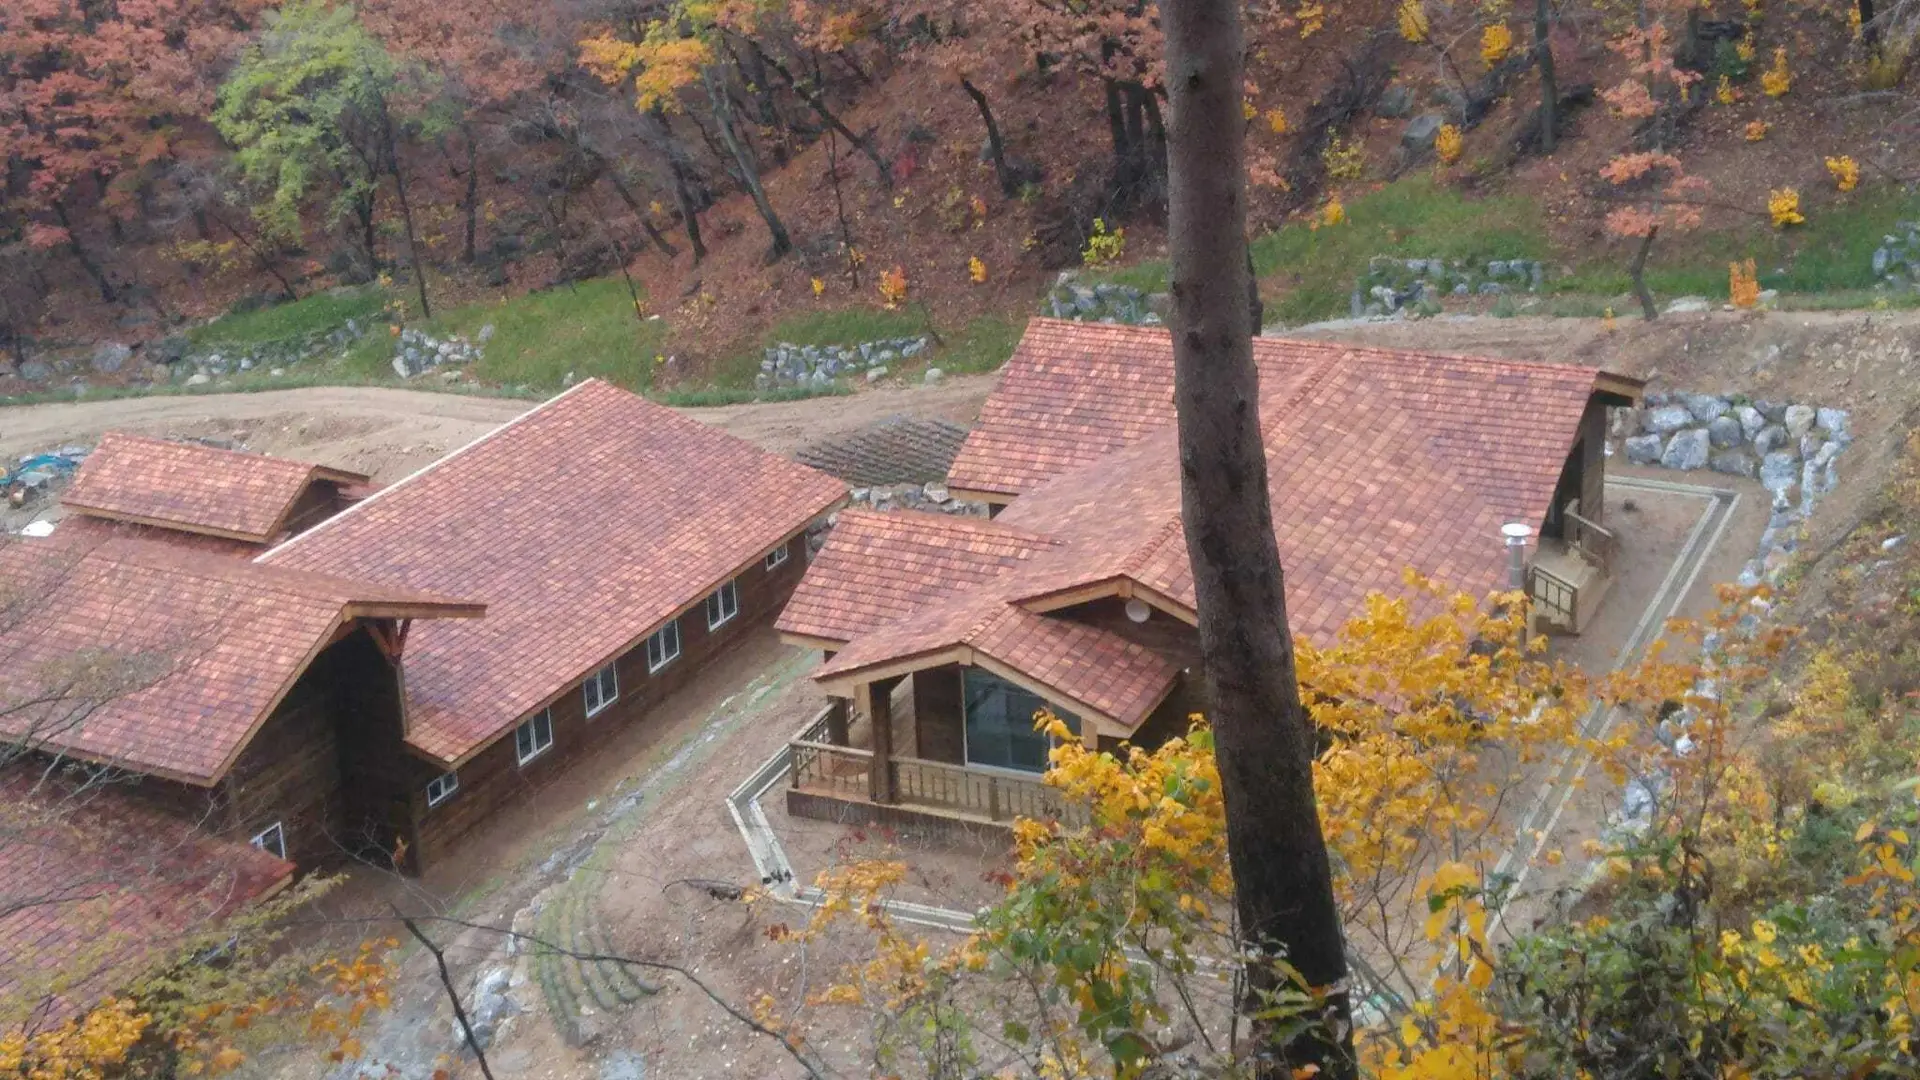
✅ Superior Aesthetic Appeal – Provides a rich, warm, and timeless natural look with a uniform grain and smooth texture.
✅ Weather Resistant – Withstands harsh weather conditions, including heavy rain, snow, and UV exposure, ensuring long-lasting protection.
✅ Sustainably Sourced – Made from responsibly harvested Western Red Cedar, making them an eco-friendly roofing and siding choice.
✅ Lightweight & Easy to Install – Lighter than many other roofing materials, allowing for easier handling and installation.
✅ Excellent Insulation Properties – Natural insulating capabilities help regulate indoor temperature, improving energy efficiency.
✅ Aging Gracefully – Develops a beautiful silver-gray patina over time while maintaining structural integrity.
✅ Versatile Application – Suitable for roofing, siding, and decorative exterior projects.
✅ Proven Longevity – These cedar shingles can last decades with proper installation and maintenance, outperforming many synthetic alternatives.
Installing #1 16″ FIVE X Western Red Cedar Blue Label/Certigrade shingles requires careful attention to detail to ensure a durable and aesthetically pleasing result. Here are some essential tips to guide you through the process:
1. Storage and Handling:
- Proper Storage: Store shingles in a dry, well-ventilated area to prevent moisture absorption. Keep them off the ground and covered to protect against weather elements.
- Handling: Handle shingles carefully to avoid damage. Avoid dropping or throwing bundles, as this can cause splitting or cracking.
2. Preparation:
- Sheathing: Use solid sheathing materials like plywood or oriented strand board (OSB) to provide a stable base for shingle installation.
- Underlayment: Apply a quality underlayment, such as Type 30 felt, over the sheathing to provide an additional layer of protection against moisture.
3. Fasteners:
- Selection: Use corrosion-resistant fasteners, such as stainless steel Type 316 nails, especially in areas within 15 miles of saltwater. For other locations, stainless steel Type 304 or hot-dipped galvanized nails conforming to ASTM A 153 Class D standards are suitable.
- Placement: Drive two nails per shingle, approximately 2 inches above the butt line and 3/4 inch from each edge. For shingles wider than 10 inches, use two additional nails near the center, spaced about 1 inch apart.
4. Spacing and Alignment:
- Keyway Spacing: Space shingles 1/8 to 1/4 inch apart to allow for expansion and prevent buckling. This spacing accommodates the natural expansion of the wood.
- Side Lap: Ensure a side lap of at least 1 1/2 inches between joints in successive courses to enhance water shedding and prevent leaks.
5. Exposure:
- Weather Exposure: For 16-inch shingles, a maximum exposure of 7 inches is recommended. This means each shingle course should cover 7 inches of the course below, leaving the remaining length exposed.
6. Installation Technique:
- Starter Course: Begin with a double starter course at the base of the roof or wall to provide a solid foundation and proper water shedding.
- Nailing: Drive nails flush with the shingle surface without overdriving or underdriving, as improper nailing can compromise the integrity of the installation.
7. Ventilation:
- Roof Ventilation: Ensure adequate ventilation beneath the roof deck to prevent moisture buildup, which can lead to shingle deterioration. Proper ventilation extends the lifespan of the roofing system.
8. Maintenance:
- Regular Inspections: Periodically inspect the shingles for signs of wear, damage, or moss growth. Address any issues promptly to maintain the integrity and appearance of the installation.
For comprehensive guidelines and detailed illustrations, refer to the Cedar Shake & Shingle Bureau’s New Roof Construction Manual.
By following these best practices, you can achieve a beautiful and long-lasting installation of your Western Red Cedar shingles.