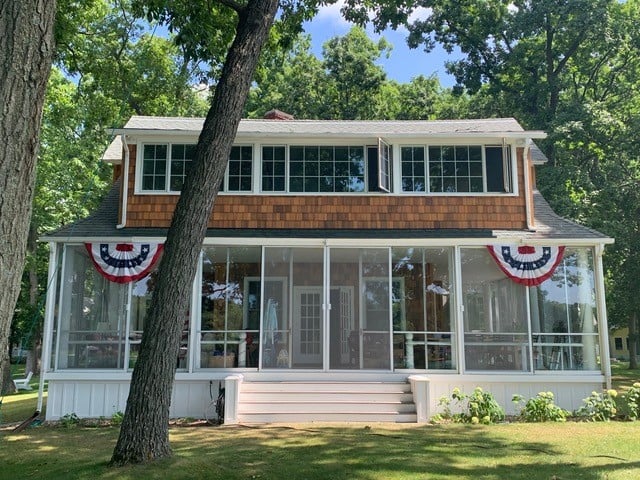
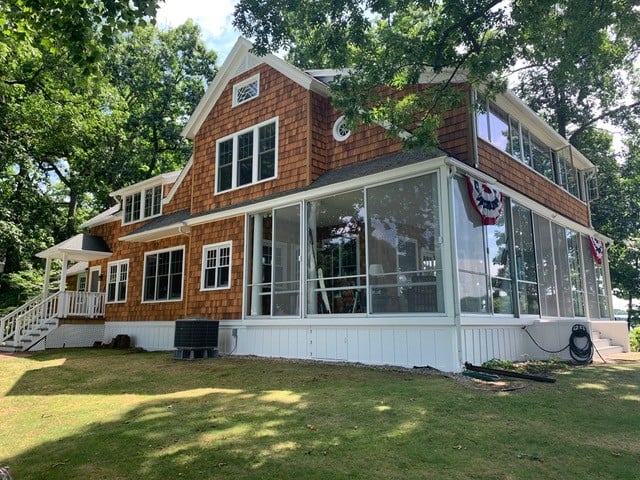
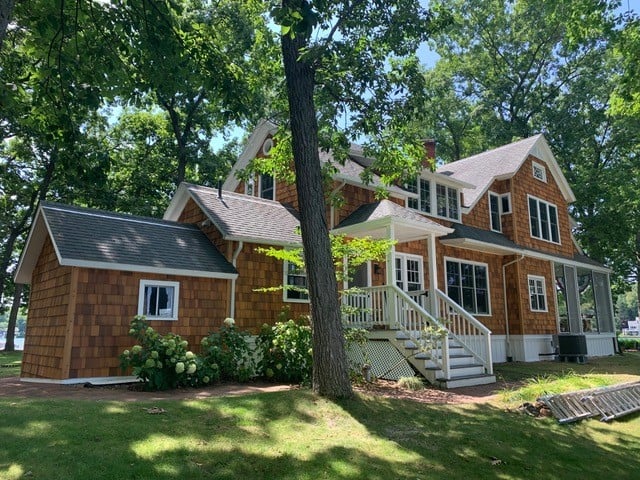
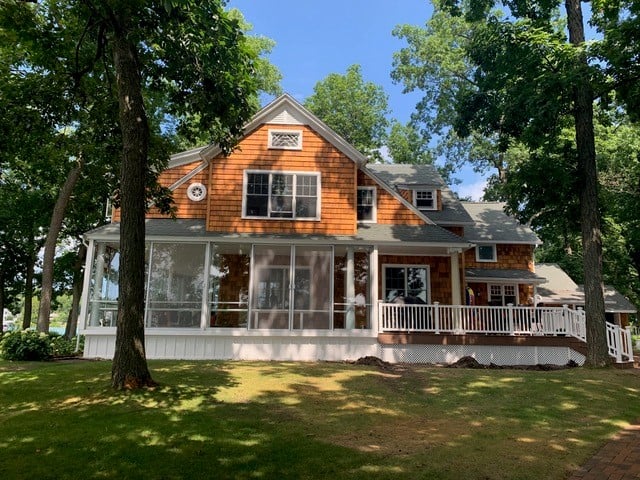
Cedar shingle panels
Cedar Siding Panels
Cedar Panels
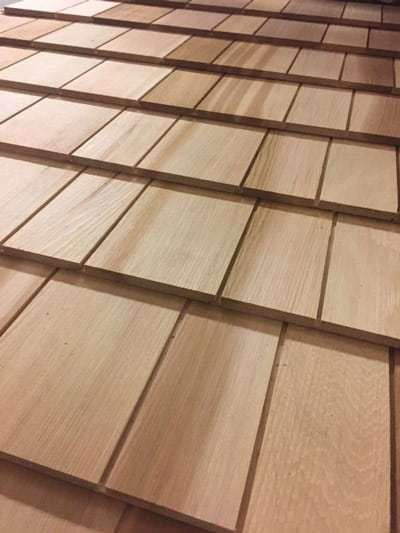
Western Red Cedar Shingle Panels
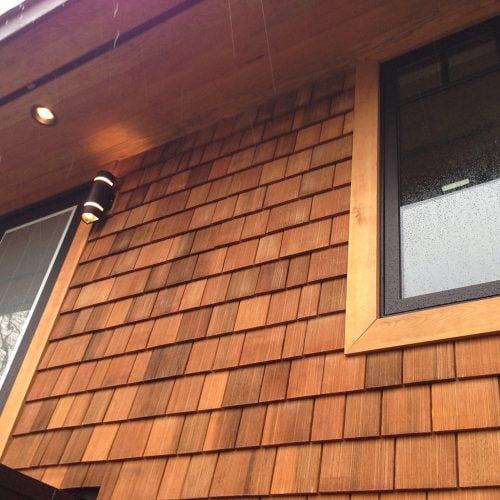
Cedar shingles
Pictures of Shingles
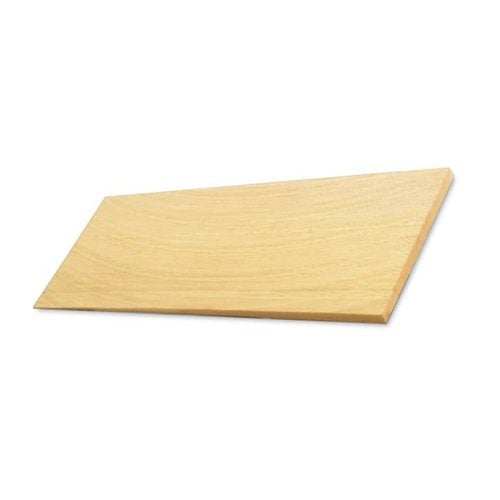
Alaskan Yellow Cedar Shingle Panels
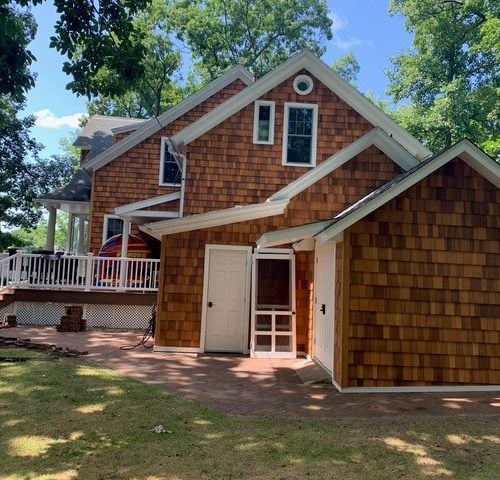
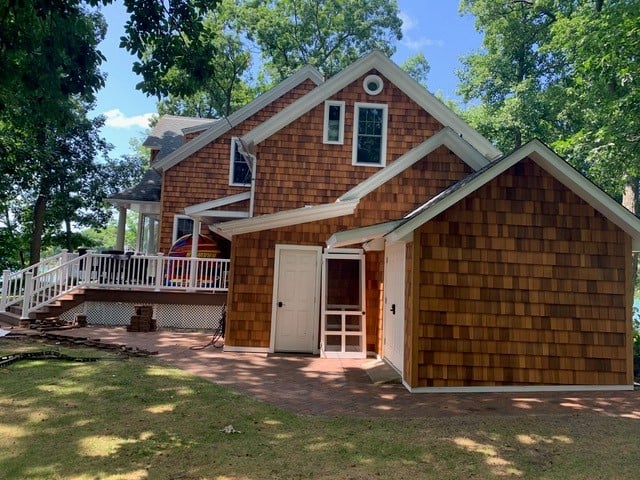
Shingle Panels | Direct Cedar is proud to offer what is simply the best shingle panels and Cedar Siding Panels on the market today. Our shingle panels, cut from 100% Old Growth Direct Cedar Supplies is proud to offer what is simply the best shingle panels on the market today.
Learn More about Wood Shingles!

Direct Cedar Supplies is proud to offer what is simply the best shingle panel on the market today.
Our shingle panels, cut from 100% Old Growth Western Red and Alaskan Yellow Cedar, are the ONLY panels on the market today that have:
Our panels are available in both Even and Staggered Butt, both open and closed keyway, and at both 5.3” and 7.1” exposures. Western Red Cedar is available in both mixed grain and vertical grain.
Alaskan Yellow Cedar Shingle Panels are available only in vertical grain. See below for a point by point breakdown of panel specifications and features.
Call Direct Cedar Supplies today for a no-hassle quote!! We ship Direct
from the mill to your job site or business!!
The Cedar Shake and Shingle Bureau is an excellent source for information specifically on Cedar Shakes and Shingles: http://www.cedarbureau.org/frequently-asked-questions/
KEYWAY STYLE
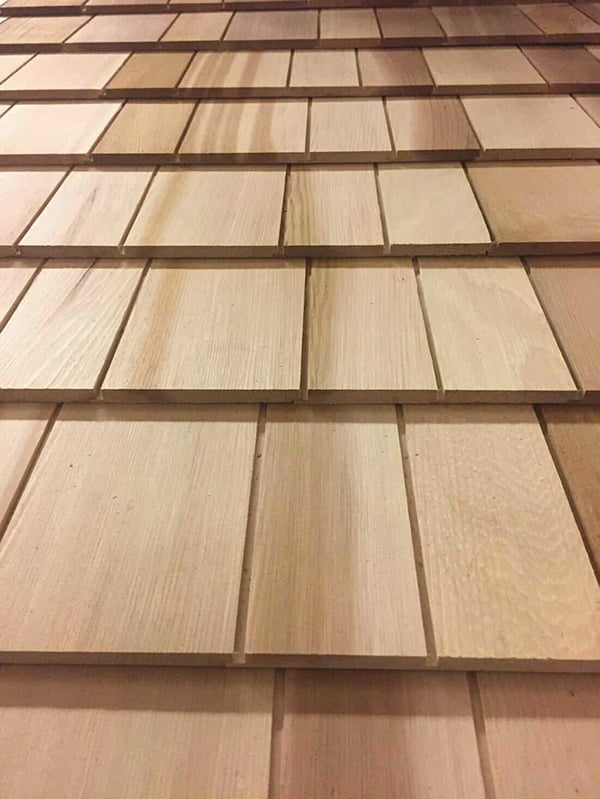
Vertical spacing between shingles lends visual interest and traditional appeal.
CONTEMPORARY STYLE
Set tight and touching to add a smooth, uniform finish to modern designs.
EVEN BUTT
Creates a consistent, symmetrical line in keeping with the newer styles.
STAGGERED BUTT
Adds character and dimensionality to a home’s finished appearance.
MITERED CORNERS
Mitered Shakertown corners add a quality finishing touch with less labor required.
Installing Shingle Panels
Preparation
Shingle Panel Installation – Clean surfaces thoroughly prior to installation.
Prepare surfaces using the methods recommended by the manufacturer for achieving the best result for the substrate under the project conditions.
Determine prior to framing layout which corner treatment is to be utilized. Panels require a nailable area 5-1/4 inches (133 mm) of outside corners and 3-1/2 inches (89 mm) of inside corners.
After framing is completed, install building paper horizontally, shingle style, beginning at bottom of wall with 3 inches (76 mm) overlaps.
Corner boards, trim and molding:
Shall be extended a minimum 1 inch (25.4 mm) from sheathing to allow for 7/8 inch (22 mm) depth of applied Shakertown Craftsman shingle panels.
Installation
Direct Cedar Shingle Installation DiagramInstall in accordance with manufacturer’s instructions.
Install shingle panels by attaching to solid nailable sheathing, spaced nailable sheathing or to studs.
Install working from the lowest level up to the top of the wall area
Furr out the bottom course of siding with 3/8 inch by 1 inch (9.5 by 25.4 mm) wood strips. Allow for canting of the first course of siding and install to level line.
Drive nails flush with siding surface, penetrating studs at least 1/2 inch (12.7 mm).
Maintain 1/8 inch (3 mm) spacing at corner boards and trim. Caulk with non-hardening sealant.
Maintain 1/16 inch (1.6 mm) spacing between ends of panels in order to allow for natural expansion.
Maintain 1/4 inch (6 mm) space from panel butt line and flashing.
